



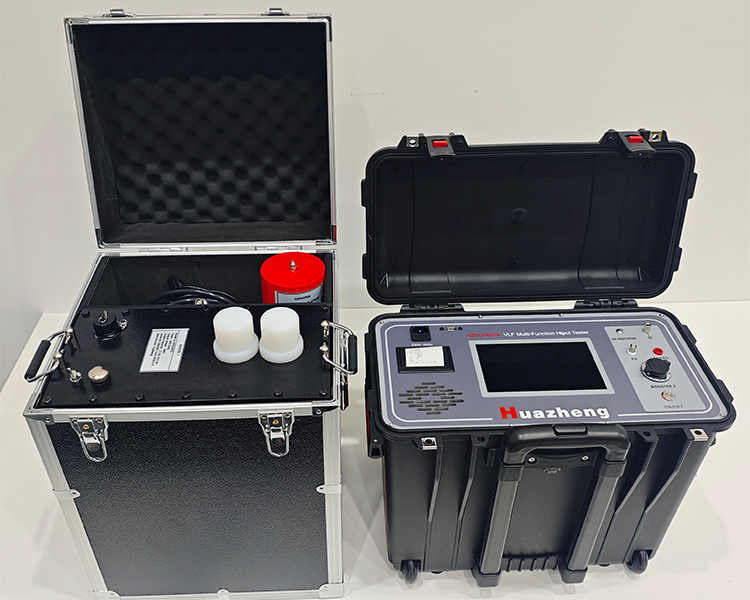
After the completion of cable laying or maintenance, the voltage withstand test is the final hurdle before commissioning. Those who have conducted this test know that the process is not complicated, but there are details in each step that are easy to fall into traps. Here is the complete operation process for your reference.
I. Preparation before the test
First, disconnect all connections between the two ends of the tested cable and other electrical equipment to ensure that the cable is in an isolated state. Then, use a megohmmeter to measure the insulation resistance of each phase. Only when the insulation is qualified can the voltage withstand test be carried out. If this step is skipped and the voltage withstand test is conducted despite severe damage to the insulation, the data may be abnormal at best, and the equipment may be damaged at worst.
II. Setting test parameters
The ultra-low frequency test voltage for 10kV and below XLPE cables is set at 3 times the rated phase voltage. Taking the 10kV system as an example, the rated phase voltage is approximately 6kV, and the peak test voltage is set at 18kV. Test duration: 60 minutes for handover test and 15 minutes for preventive test. The setting value of overcurrent protection is set at 1.5 times the capacitive current of the test sample to avoid false triggering of protection due to normal charging and discharging currents.
III. Wiring sequence
The order is crucial and must not be disrupted: first connect the grounding wire (the instrument grounding rod should be reliably grounded, and the metal shielding layer of the cable should also be grounded), then connect the test line (the controller output terminal is connected to the booster, and the high-voltage terminal of the booster is connected to the tested cable), and finally connect the power cord. The disconnection sequence is completely opposite: first disconnect the power supply, then remove the test line, and finally remove the grounding wire. This sequence is an ironclad rule in high-voltage testing, and no one can dispense with it.
IV. Voltage Boosting and Monitoring
After setting the parameters, initiate the voltage boost. The instrument will automatically ramp up to the target voltage in a sinusoidal waveform, and timing will commence. During the voltage boost process, closely monitor for any abnormal noises, smoke, or odors, as well as any sudden jumps in current readings. If any abnormalities are detected, immediately shut down the machine manually and investigate the cause before deciding whether to continue.
V. End of the experiment
After the timer reaches the set time, the instrument will automatically shut down and discharge. The equipment can only be operated after the voltage drops below 0.8kV. Print the test report, save the data for archiving. Finally, use a discharge rod to fully discharge the cable, and confirm that there is no residual high voltage before disconnecting the wires.