



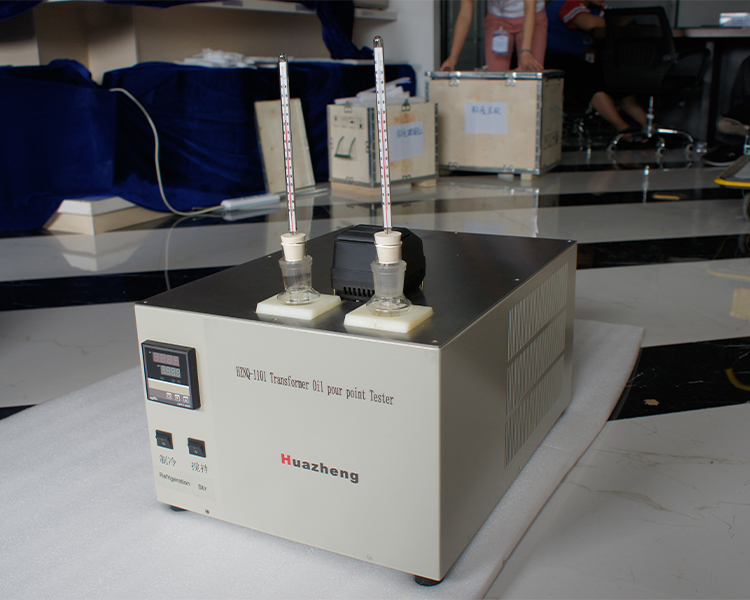
The HZNQ-1101 manual provides a concise troubleshooting table that covers the three most common types of fault phenomena encountered on site. By clearly explaining the troubleshooting logic, most issues on site can be resolved without contacting after-sales service.
Fault 1: Power switch does not work (instrument has no response)
After pressing the power switch, the instrument shows no response - the screen remains dark, the fan doesn't spin, and there's absolutely no reaction.
Troubleshooting steps:
First, confirm the external power supply: check if the wall socket is powered on (verify with other electrical appliances), and inspect the plugs on both ends of the instrument's power cord for any looseness, especially the power cord connector on the back of the instrument
If the external power supply is normal: check the instrument fuse - it is usually located in the fuse holder near the power socket on the back of the instrument. Unscrew it with a flat-head screwdriver, remove the fuse and visually inspect it (for breakage, blackening) or use a multimeter to test its continuity
Fuse blown: Replace the fuse with the same model according to the specifications on the nameplate (remember that the specifications must be consistent, and a larger specification cannot be used as a substitute, otherwise the fuse will not effectively protect the instrument in case of a real short circuit)
Fuse is normal but still no response: The power switch itself is damaged and needs to be replaced or contact after-sales service
Fault 2: Temperature display is chaotic or not displayed
The temperature numbers displayed on the screen are abnormal - garbled, fluctuating violently, or completely blank and not displaying.
Troubleshooting steps:
First, check the plug of the temperature sensor (PT100 platinum resistor): locate the connection plug between the temperature sensor wire and the instrument main unit, confirm whether it is fully inserted and if there is any loose connection. After re-inserting firmly, restart the instrument and observe
If the display returns to normal after re-plugging: it was previously due to poor contact. Check the plug for oxidation or deformation, and clean the connector or replace it if necessary
If the issue persists after re-plugging: the sensor itself may be damaged (the most common fault with PT100 is a broken lead wire). Use a multimeter to measure the resistance across the sensor terminals (approximately 100Ω at 0℃ and approximately 110Ω at room temperature). If the deviation is too large, it indicates that the sensor is damaged and needs to be replaced
The sensor is functioning normally but the display remains abnormal: there is a fault in the internal control circuit, which requires professional maintenance personnel for handling. Do not disassemble the circuit board yourself
Fault 3: Poor cooling effect, unable to reach the target temperature for a long time
This is a common issue with compressor-type instruments, and the reasons are usually as follows: the anhydrous ethanol level is too low (not covering the copper tubes of the evaporator); the instrument has poor heat dissipation (due to high ambient temperature or insufficient ventilation); the interval between two power-on attempts is too short (the compressor has not fully achieved pressure balance). Troubleshooting can be carried out in order.